Uncategorized files
Jump to navigation
Jump to search
Showing below up to 50 results in range #19,291 to #19,340.
-
 Disopyramide03.jpg 519 × 247; 56 KB
-
 Disopyramide04.jpg 335 × 251; 17 KB
-
 Disopyramide05.jpg 368 × 73; 9 KB
-
 Disopyramide06.jpg 372 × 81; 9 KB
-
 Disopyramide07.jpg 367 × 89; 11 KB
-
 Disopyramide08.jpg 367 × 88; 11 KB
-
 Disopyramide09.jpg 682 × 239; 43 KB
-
 Disopyramide10.jpg 679 × 237; 45 KB
-
 Disopyramide11.jpg 681 × 237; 41 KB
-
 Disopyramide12.jpg 677 × 237; 45 KB
-
 DisopyramidePackage1.png 877 × 366; 83 KB
-
 DisopyramidePackage2.png 873 × 363; 86 KB
-
 DisopyramideStructure.png 181 × 143; 10 KB
-
 DisopyramideTable1.png 322 × 180; 6 KB
-
 DisopyramideTable2.png 291 × 375; 17 KB
-
 Disopyramide 100 mg NDC 0093-3127.JPG 1,024 × 768; 481 KB
-
 Disopyramide 150 mg NDC 0093-3129.jpg 1,024 × 768; 451 KB
-
 Disopyramide Phosphate ER NDC 581770002.jpg 640 × 480; 101 KB
-
 Disopyramide Phosphate NDC 00933127.jpg 1,024 × 768; 481 KB
-
 Disopyramide Phosphate NDC 00933129.jpg 1,024 × 768; 451 KB
-
 Disopyramide Phosphate NDC 05915560.jpg 640 × 480; 135 KB
-
 Disopyramide Phosphate NDC 05915561.jpg 640 × 480; 159 KB
-
 Disopyramide svg.png 621 × 599; 17 KB
-
 Disopyramine adminstration 01.png 320 × 190; 26 KB
-
 Disopyramine adminstration 02.png 291 × 424; 53 KB
-
 Disopyramine label 01.jpg 874 × 360; 152 KB
-
 Disopyramine label 02.jpg 872 × 357; 154 KB
-
 Disopyramine panel 01.png 1,283 × 767; 110 KB
-
 Disopyramine panel 02.png 1,281 × 764; 111 KB
-
 Dispersion-curve.png 640 × 536; 20 KB
-
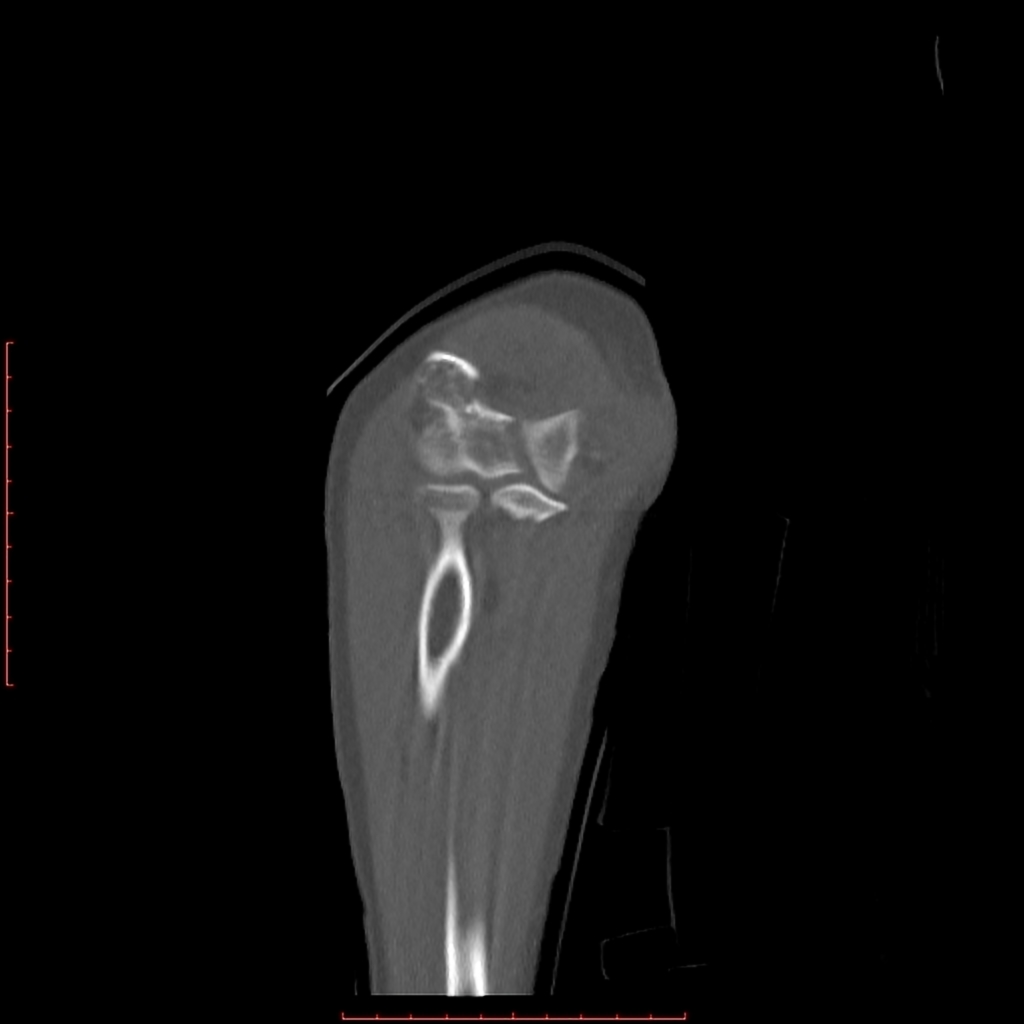
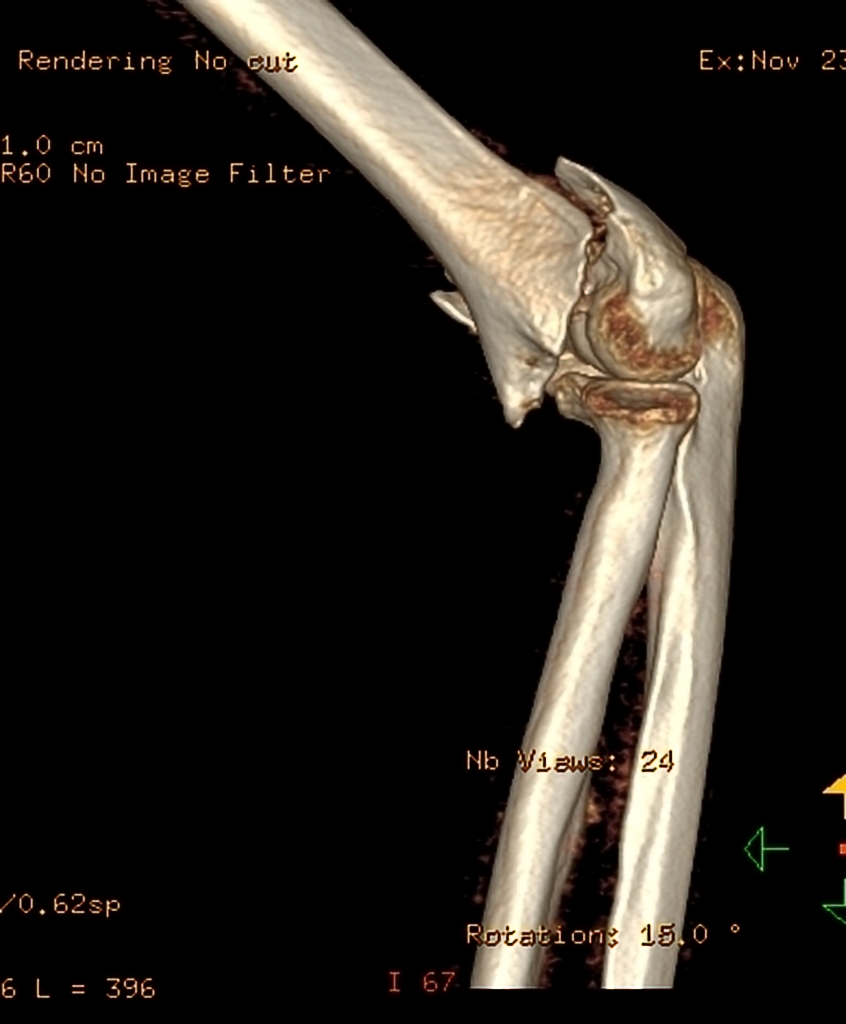
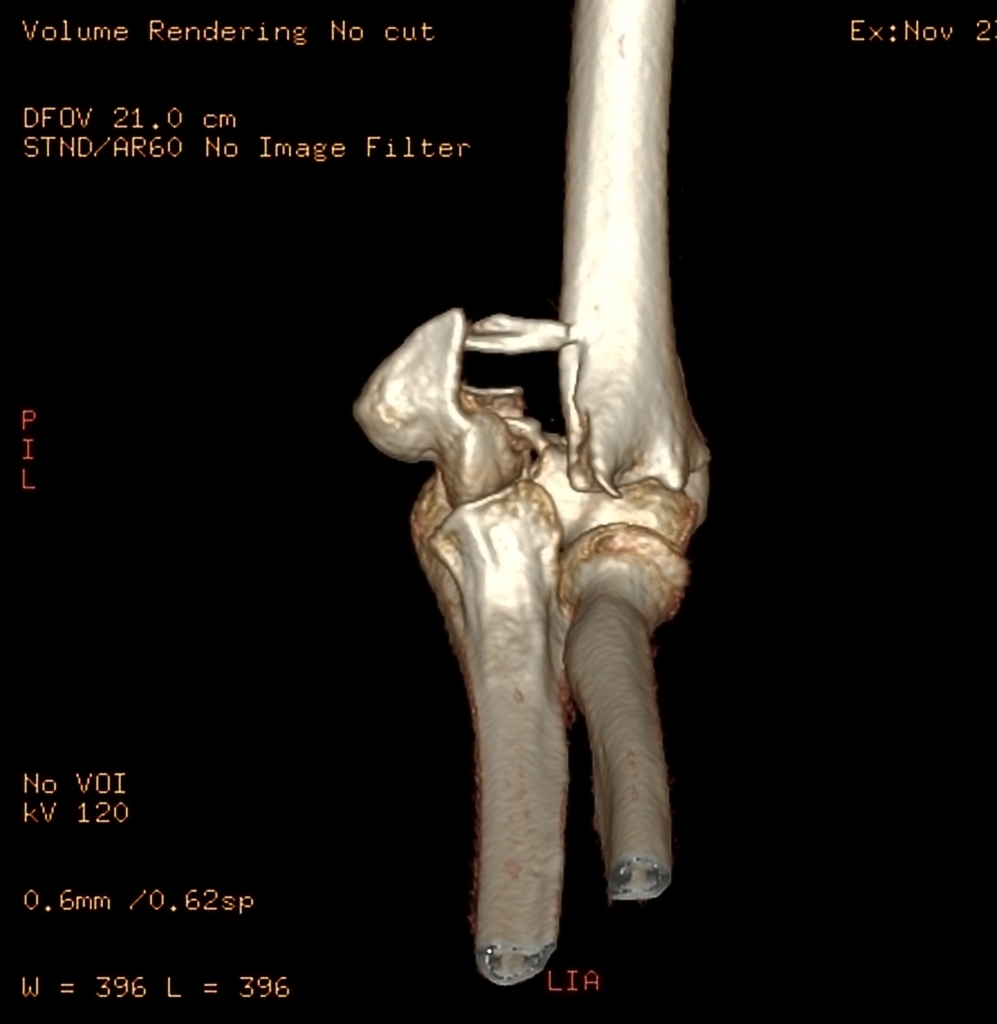
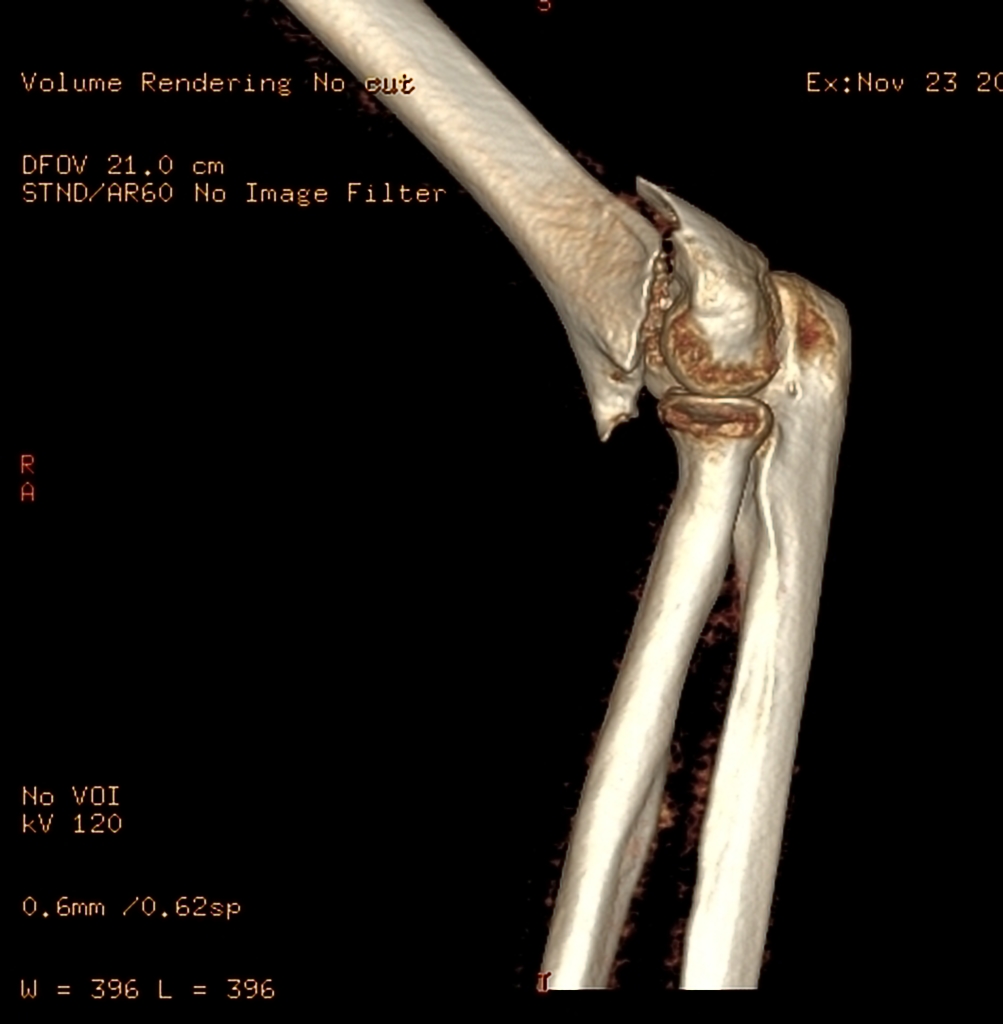
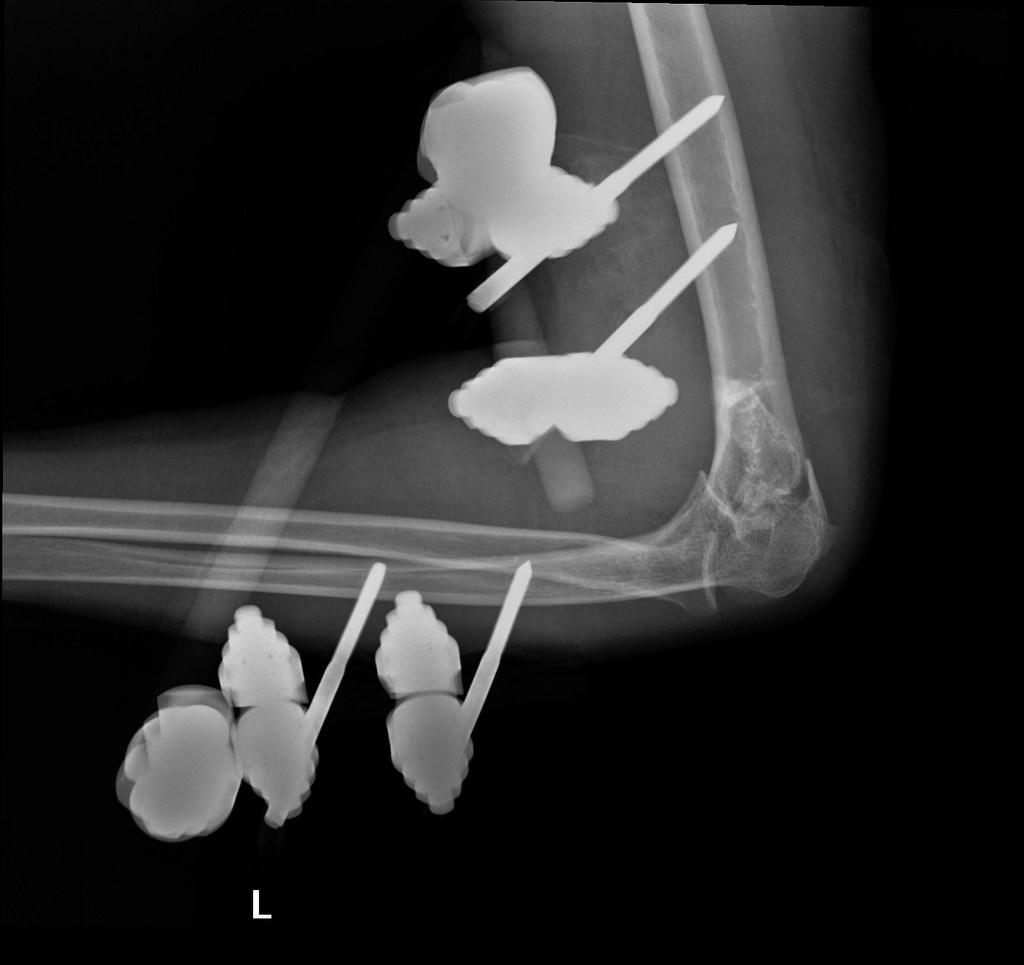
 Displaced-t-condylar-and-supracondylar-fracture-of-the-distal-humerus.jpg 1,024 × 877; 219 KB
-
 Displaced-t-condylar-and-supracondylar-fracture-of-the-distal-humerus (1).jpg 1,024 × 825; 225 KB
-
-
-
 Displaced-t-condylar-and-supracondylar-fracture-of-the-distal-humerus (2).jpg 1,024 × 1,024; 118 KB
-
 Displaced-t-condylar-and-supracondylar-fracture-of-the-distal-humerus (3).jpg 1,024 × 1,024; 104 KB
-
 Displaced-t-condylar-and-supracondylar-fracture-of-the-distal-humerus (4).jpg 1,024 × 1,024; 92 KB
-
 Displaced-t-condylar-and-supracondylar-fracture-of-the-distal-humerus (5).jpg 1,024 × 1,024; 86 KB
-
 Displaced-t-condylar-and-supracondylar-fracture-of-the-distal-humerus (6).jpg 846 × 1,024; 177 KB
-
 Displaced-t-condylar-and-supracondylar-fracture-of-the-distal-humerus (7).jpg 997 × 1,024; 169 KB
-
 Displaced-t-condylar-and-supracondylar-fracture-of-the-distal-humerus (8).jpg 1,003 × 1,024; 188 KB
-
-
 Displacement of tricspid valve toward RV apex in Ebsteins.JPG 468 × 342; 24 KB
-
 Display Pannel Probenecid.png 600 × 1,336; 98 KB
-
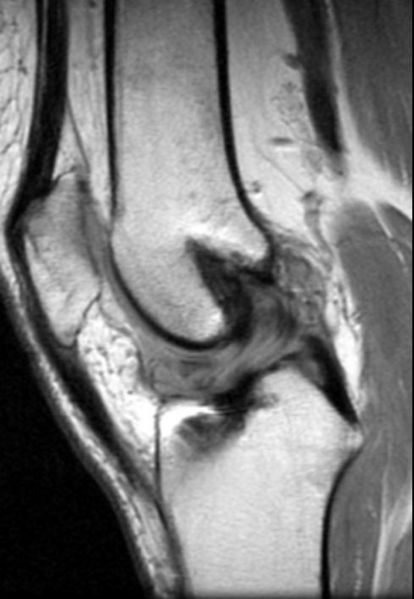
 Disruption-of-ACL-graft-with-cyclops-lesion-001.jpg 440 × 600; 32 KB
-
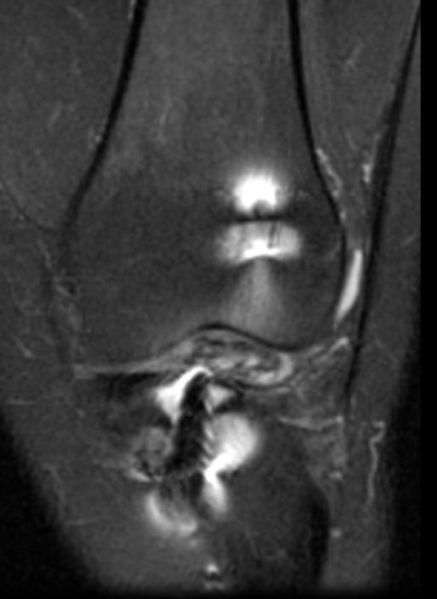
 Disruption-of-ACL-graft-with-cyclops-lesion-002.jpg 414 × 599; 30 KB
-
 Disruption-of-ACL-graft-with-cyclops-lesion-003.jpg 437 × 599; 23 KB
-
 Disruption-of-ACL-graft-with-cyclops-lesion-004.jpg 483 × 600; 26 KB
-
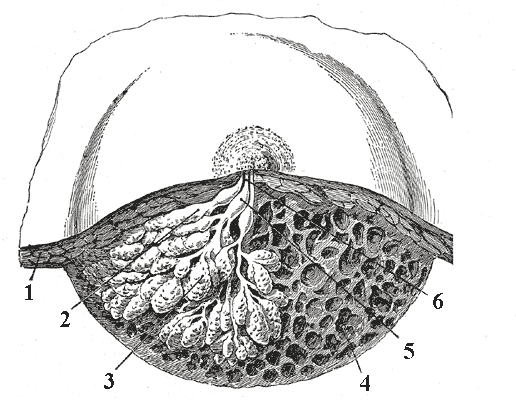 Dissected lactating breast gray1172.png 516 × 400; 36 KB
-
 DissectionSpiral.swf ; 126 KB


.jpg)
.jpg)
.jpg)
.jpg)
.jpg)
.jpg)
.jpg)
.jpg)
.jpg)
.jpg)
.jpg)


